Installing an asphalt shingle roof involves the following steps:
1. Preparation:
a. Obtain necessary permits and inspections as required by local regulations.
b. Choose appropriate asphalt shingles based on your budget, climate, and desired look.
c. Gather tools and materials: roofing nails, hammer, roofing felt, drip edge, flashing, ice and water shield, ladder, safety harness, utility knife, and chalk line.
2. Remove old roofing:
a. Remove old shingles, underlayment, and flashing.
b. Inspect the roof deck for damage and repair or replace any damaged sections.
c. Clean the roof deck to ensure a smooth surface.
3. Install drip edge:
a. Install drip edge along the eaves, nailing it to the roof deck every 12 inches.
b. Install drip edge along the rakes, overlapping the eave drip edge.
4. Install underlayment:
a. Install ice and water shield along eaves and in valleys, if required by local codes.
b. Roll out roofing underlayment horizontally, starting at the bottom edge of the roof and working up.
c. Overlap each subsequent row by at least 2 inches and secure with roofing nails.
5. Install flashing:
a. Install step flashing along sidewalls, chimneys, and other roof penetrations.
b. Install valley flashing in roof valleys.
6. Install the starter course:
a. Cut starter shingles by removing the top half of the shingle.
b. Install the starter course along the eaves, overhanging the drip edge by 1/4 to 3/4 inch.
c. Nail the starter shingles every 6-8 inches, ensuring nails are 1-2 inches from the eave.
7. Install asphalt shingles:
a. Lay the first row of shingles, beginning at the bottom corner of the roof.
b. Align the shingles with the starter course and stagger each row to create a proper offset.
c. Nail each shingle at the manufacturer’s recommended locations.
d. Cut the final shingle to fit the edge of the roof and continue this process up the roof.
8. Install ridge and hip shingles:
a. Cut ridge shingles from regular shingles or use pre-made ridge shingles.
b. Fold ridge shingles over the ridge and nail on both sides.
c. For hip shingles, follow the manufacturer’s instructions.
9. Cleanup and inspection:
a. Clean up debris and dispose of old shingles and materials.
b. Inspect the roof to ensure proper installation and coverage.
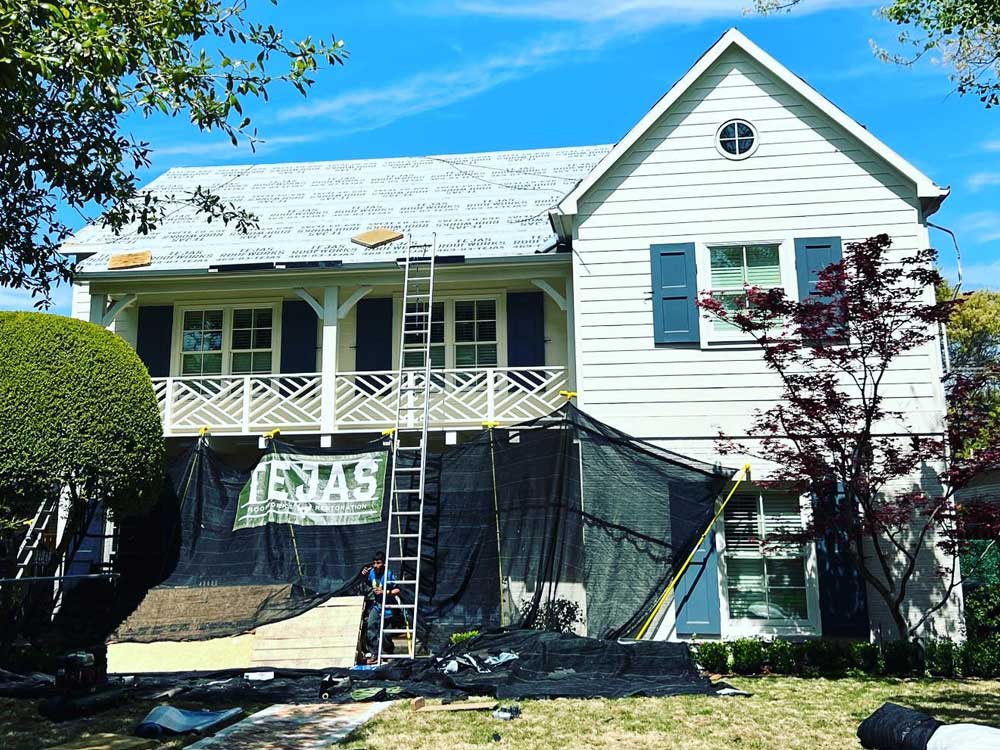
Remember to follow local building codes and manufacturer’s instructions for best results. Safety should be a priority; use a safety harness and appropriate fall protection equipment. If you’re inexperienced, consider hiring a professional roofer like Tejas Roofworks.


